Monday, October 27, 2014

Finished Rugs

 The three rugs are off the loom, washed and finished.  I learned a ton but I'm super happy with how they turned out.  I had no idea how far fabric would get me...turns out not very far!  On my first rug I had to add in the greens or it would have been a very, very short rug.  But I like how it turned out!  This one I wove a header in the warp and hemmed instead of having fringe.

This was the 2nd one and I played around with different fabrics - an old fabric shower curtain, fabric scraps and upholstery scraps.  Again, fabric is used up pretty quickly - the rug shrinks in size once tension is released and taken off the loom and again once it's washed due to the cotton warp shrinking.  It's normal and tightens the rug...but I'm still always surprised how much cottom shrinks.
 I forgot to weave a header on this one - I think I was so excited to get started.  So, I had to tie the knots right next to the woven fabric, which tends to unravel a bit.  I won't forget a header again.  ;-)
And here is #3.  I learned a lot by this rug and this one is the best.  The carrys on the side of fabric are much better and more even.  The header used before the ends make it crisp looking.  I did find the cotton warp does fray a bit, so in the future I may stick to hemming or twisting the fringe.  I didn't allow for enough fringe to twist at this point, so I'll just leave as is.  Apparently the fringes wear out quickly on these kinds of rugs.


 And look who photo bombed!  
I think he's saying, "Not mine?"

Sunday, October 19, 2014

Rugs #2 and #3

So I'm moving along and finished rug #2.  It's a pretty fabulous green -- very excited about this one.  I'm very interested to see how it washes up as I used a fabric shower curtain, some cotton
fabric, and some upholstry fabric scraps.

 Dot has been loving the sewing machine and making her own bags.  Melts my heart.
 And I have my constant buddy while I weave.  He likes to be close...sometimes too close.  ;-)
And here he has pulled out a fabric ball.  I can just see the confusion....but it's a BALL!  Why can't I play with it???
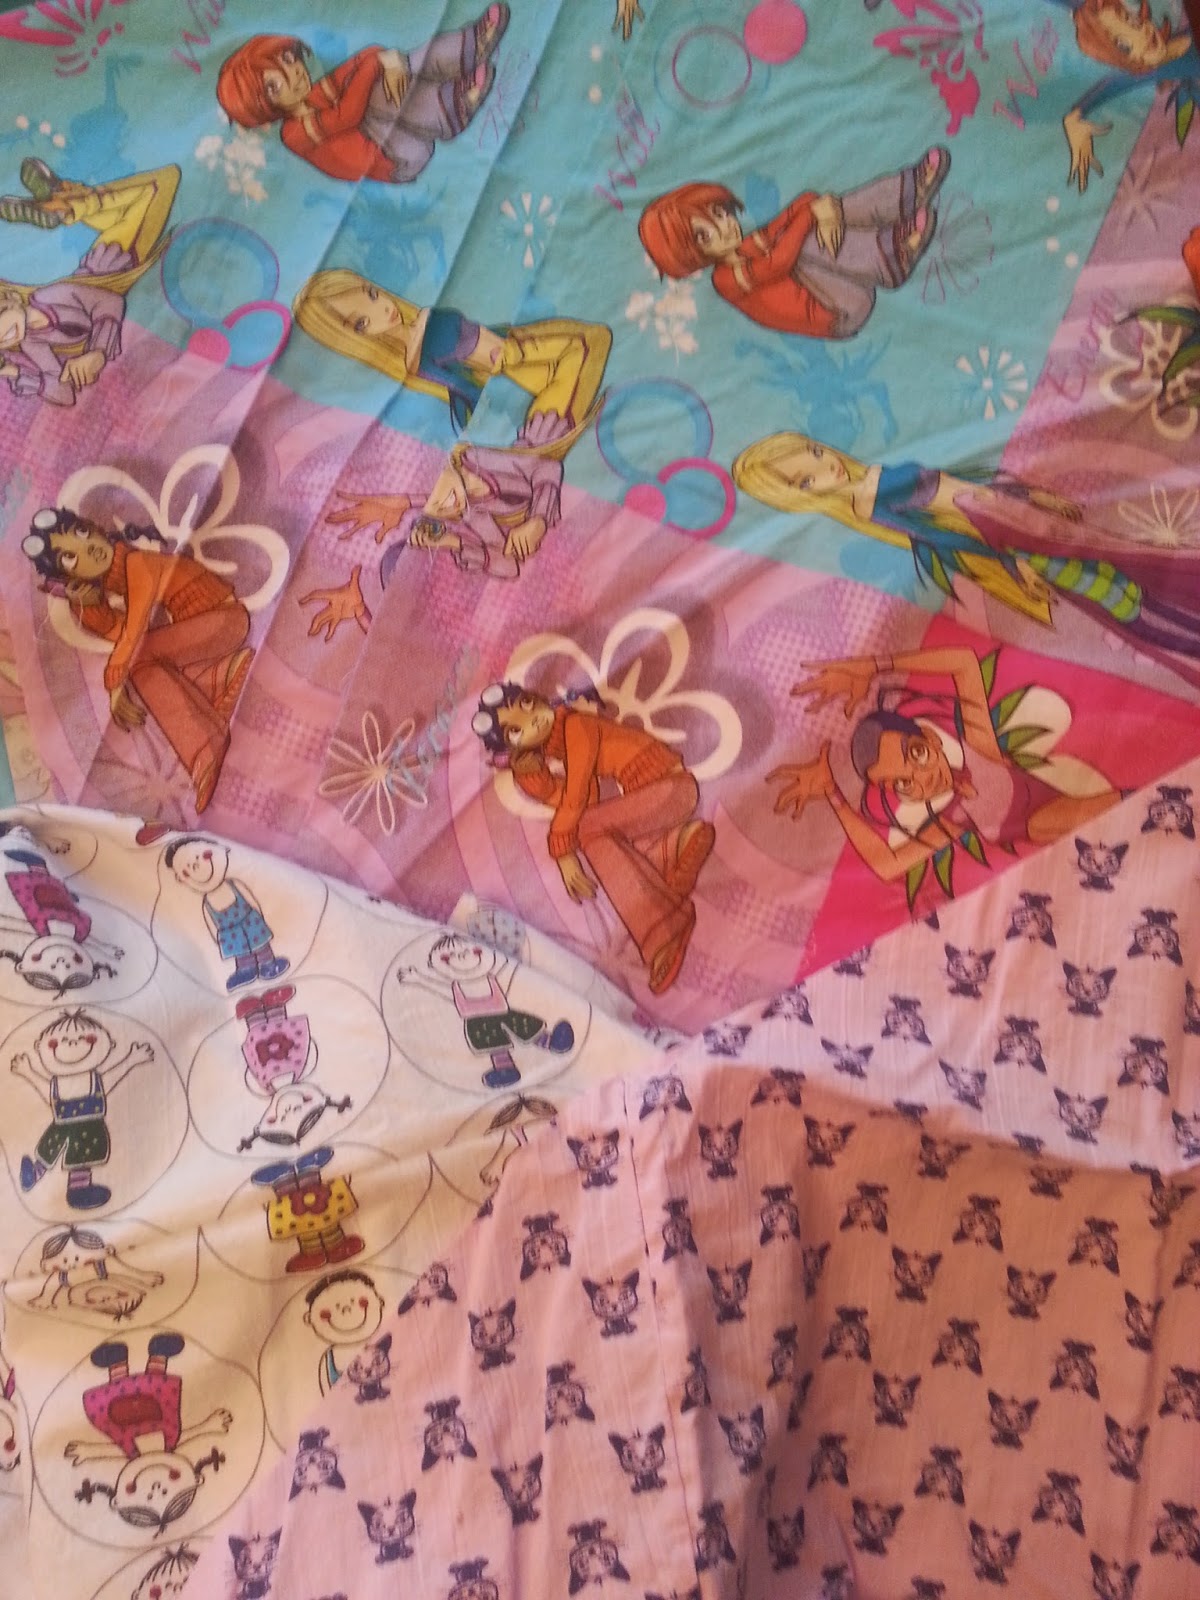
 Here is my first fabric donation.  Duvet covers from Denmark!  Fun, huh?  I'm using it for #3 and guessing a little girl who likes to sew may claim it for her room.
 That's a whole lotta pink!  ;-)
I have some donations coming in of sheets that I'm very excited about. But it takes a lot of fabric to make a rug, so a friendly reminder to all -- please save your old bed sheets for me.  Also, shirts with cool patterns are great too - the uglier often the better!  ;-)

Sunday, October 12, 2014

A few updates

We've been in our house for just over two years now and have been talking about painting the entryway and changing the entryway light fixture since the day we moved in.  The issue was the very ugly, bright brass light fixture with clear glass rectangles hanging from the ceiling.  Now, I really need to learn to take a before picture...but just trust me, this thing was ugly.  The problem was finding a new fixture to replace.  The ones I liked at the stores were very expensive, I had a hard time justifying the expense for something that no one really ever noticed.  Then, one morning I noticed this chandelier on my local garage sale site....it was listed for $65!  Are you kidding me?  It retails for $450 so...SOLD!  Now, we could have left it brushed nickel, but we have none in the house....that's okay, that's what a $10 can of Rustoleum Metallic Oil Rubbed Bronze spray paint it for!
Here it is, pretty, right?
 Oh,and we did have this in the powder room...but no other chrome in there either. So what the heck...let's paint that too!  I've seen all the DIY blogs and they make it look SO easy!
 I took the light fixtures to the garage and hung the big one between two ladders, covered all the little light thing-a-ma-bobs...
 and started spraying!  And seriously, it was too easy.  The only issue was the spray paint dries very quickly in the air when sprayed open like this and it falls to the ground making paint "dust" all over.  It's easy to sweep/vacuum up, but it was still rather messy.
 What a tough room to photograph, but there is the bathroom light fixture...WAY better!
 And here it is with the glass back on.  Walter seems to like it too.
 Another thing we wanted to change since moving in was to paint our entry as well.  Whoever painted this did an amazing job years ago, but the grey/white texture look just doesn't work for us.
 And why did it take so long?  Well, partly because we have this 16 foot entry...not exactly easy for reaching the light...but now that we found the chandelier...it's time!  We were going to rent scaffolding, but it wouldn't fit in the back of the van.  Hmmm, put in a call to the local equipment rental to see what they had and they suggested this little power lift.  It was perfect!  You use a power drill as the motor to move it up and down and as you go up, you simply install another section beam to go higher. Much easier than scaffolding! Here's my darling Hubs up there taking dow the ugly brass.
 And putting in the new...
 Once it was installed - with 20+ year light bulbs, 'cause we are NOT renting this thing just to change a bulb! - I got up there and started painting...and cleaned those windows!  And of course, the kids all had to go for a ride.
 I am ridiculously happy with how it all turned out. We installed a dimmer too - I'm shocked there was never a dimmer before,  The lighting is great...we went with LED bulbs in soft white.  They should last 22.6 years if burned at 3 hours a day.  Sweet.  The next time we need to change them we can ask our grown kids to come over and do it for us!  ;-)
 Waler seems to like it too.
I still have more painting to do, but at least the big part is done.  We rented the lift for 4 hours and it saved us a lot of time - and some dangerous balancing acts too!

Thursday, October 9, 2014

Fabric

I prepped the fabric today for the rag rugs.  I watched a YouTube video on cutting the fabric on the bias so you don't have strings coming off the strips and the rug wears better.  It was pretty slick and turns out the woman who made the video is in my Scandinavian Weavers group.  Cool!    So, I ended up with a couple of these...pretty, right?
 And getting started with the brown.  I see now I should have gone with a darker warp, but it looks just fine with the lighter warp.  Next time I think I will go from 8 ends per inch down to 6 ends per inch.  I'll use more weft to fill the space and I think the rug will be thicker and squishier.  It's rather thin right now...and I'm thankful I didn't go with the 10 ends per inch that I was originally thinking of doing!  Lots of learning, but lots of fun!
 So, I did a band of pink...
 Then mixed them up every other row....I like that look a lot!
Really, really, REALLY enjoy making rugs!  
For those of you near me, I will gladly take all your old sheet sets and stray fabric you no longer need....I see a lot of rugs being made in the near future....guess what everyone is getting for Christmas???  Haha!

Friday, October 3, 2014

Rug Warp

I'm still here!  I am still weaving!  It's just been very, very slow over the summer.  Now that the kids are in school again, I'm trying to get some more weaving time in.  It takes a LONG time to get everything figured out.  This time I tried out Farmor's Warping mill, now that I found the right size dowel from the hardware store, that the mill had been missing.  It's a pretty short warp, but since I'm still learning, I think it's okay to do more, shorter projects...I'm a hands on learner.  Anyway, WOW!  Was this thing a dream to warp on!  My other warping board would make my arm and body so tired, zig-zagging back and forth, this was a piece of cake!
 Warp chained and ready for loom.
 This is sleying the reed...basically, getting the warp evenly spaced across the width of the reed, to get it the correct width to wind on the loom.
 Every weaver needs a trusty helper, right?  There's mine....sound asleep and snoring.  I guess this is still the boring part of weaving.
 Getting the warp attached to the back beam and waiting for my other weaver helper, the Hubs, to get home and help me wind on.
 I love this -- isn't that pretty?!
 And I finally ordered new Texsolv heddles.  The other ones were fine, but since they were rope, some seemed to be different lengths and it just came across a little uneven.  So, I now have 100 heddles on each of the four shafts.  I'm about half way there threading the heddles...a little over 130 left to go.  I love this part - sitting inside the loom, listening to the rain, some music and my faithful hound snoring away.  
Next is to finish this, get the warp through the reed and I'll be weaving!  Well, after I figure out how to prepare the rag strips that is...THEN I'll be weaving!  Almost there!