My Farmor in Sweden was an extremely talented textile artist. She goes beyond the title of "weaver" when you see some of the things she created. I sure wish I could ask her how she did things or to see her in action weaving. One piece in particular is this tapestry that hangs in my cousins house. My Dad sent me these pix and there has been much discussion, examination, and head scratching trying to figure out how exactly she made this.


You see, the yarn that runs up and down are the warp strings, they are the ones that go thru the loom. The yarn running left to right are the weft that you shuttle back and forth on the warp. So, there are these little "loops" that stick out from the main fabric. The big question is how did she get them to stick out without ruining the tension of the rest of the warp strings?

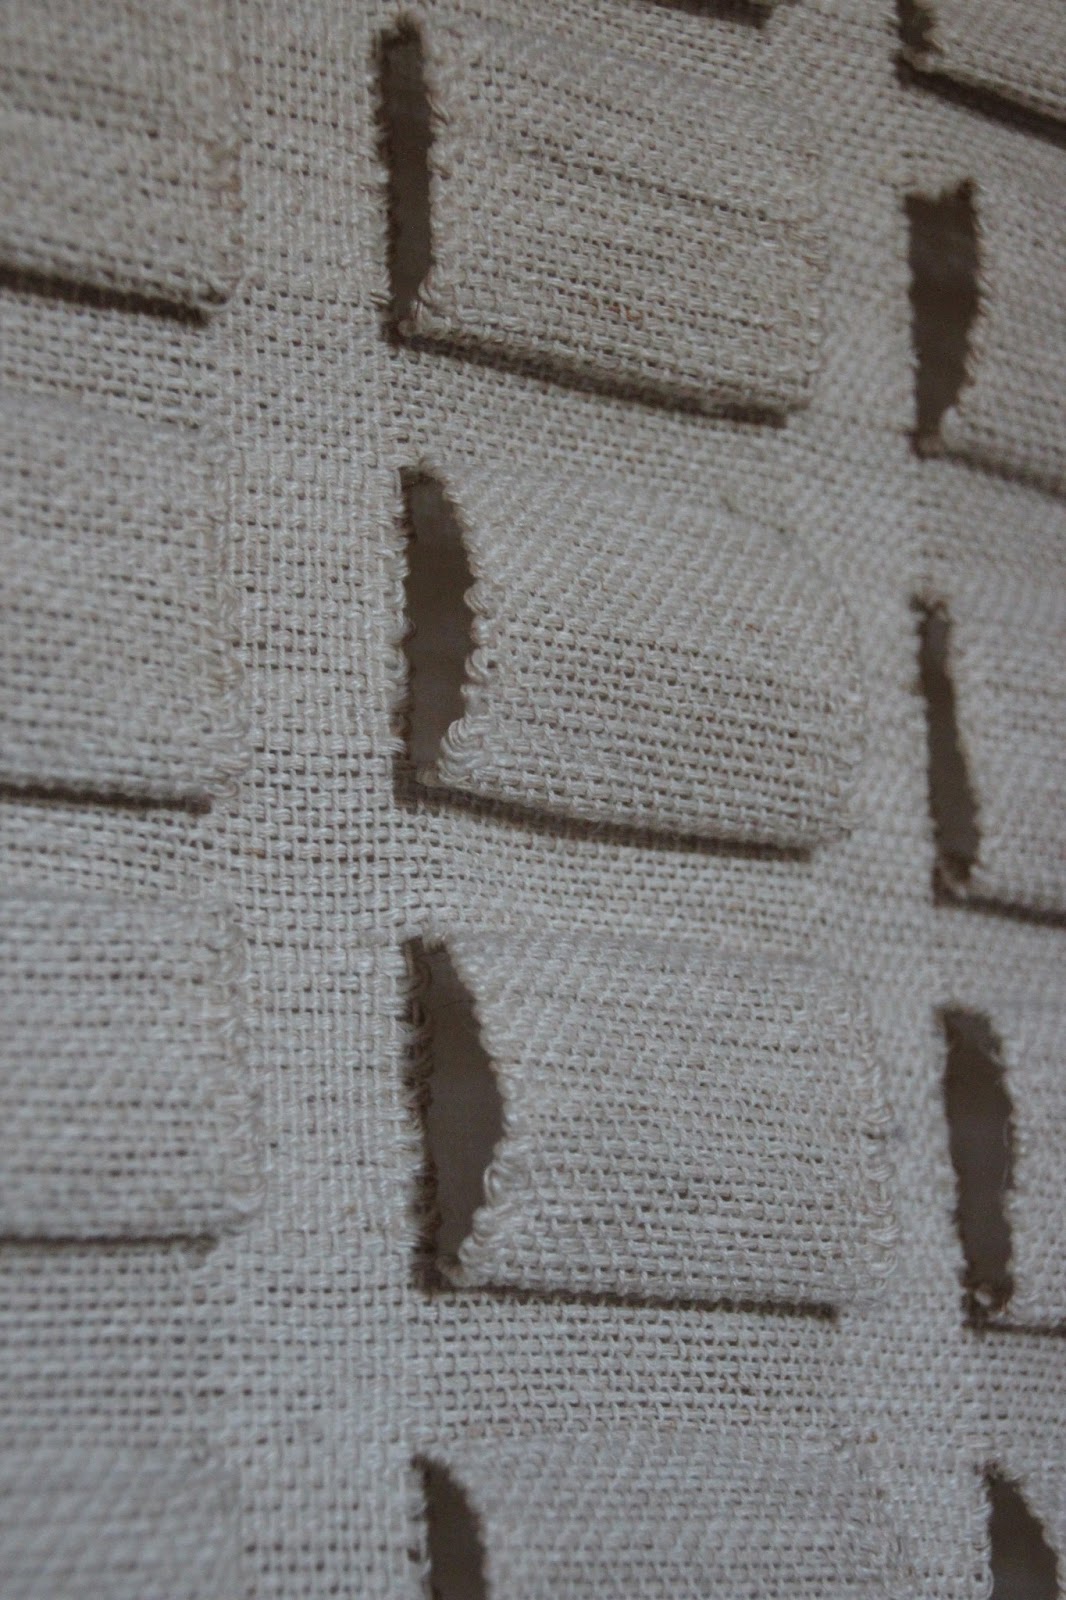
It's clear to me that she had a separate bobbin or shuttle for each "bump" section and she wove more passes of weft on each of these "bumps"....but how did she release more warp strings without disrupting the rest of the main fabric?


Well, here's my take on it. I was done with my sampler project and figured I would mess around with it before I cut it off the loom. I believe that she hooked up those "bump" sections of warp string and wound them on the back beam of a 2nd loom...like she put two looms back to back and dressed one loom the normal way, but then took those sections of warp and used the wrapping back beam on a 2nd loom. Since I don't have a 2nd loom, I had to weigh down those "bump" rows to create surface tension that matched the rest of the warp....so I very poorly wrapped my 3 "bump" sections around a 5 pound weight and hung it down the back of the loom. I also didn't count for equal spacing...just kind of divided the warp strings into somewhat equal parts.


I made a bunch of bobbins and worked across to create the "pockets". The weight didn't provide the best tension so it was really tricky to keep the warp where I need it to be and I encountered some "waving" of the fabric as it pulled differently so I place a wooden stick in the loops to help give it some structure when I started with main fabric weave after the "bumps".

So, here are my pocket "bumps"...while very rough and obviously poorly constructed, I think I figured out how she did that tapestry and that's pretty much all I wanted to do was to figure it out. And as you can see...once I did that....that was enough for me! Haha! It blows my mind that she made the huge tapestry. It is a treasure for sure!


