Sunday, October 19, 2014

Rugs #2 and #3

So I'm moving along and finished rug #2.  It's a pretty fabulous green -- very excited about this one.  I'm very interested to see how it washes up as I used a fabric shower curtain, some cotton
fabric, and some upholstry fabric scraps.

 Dot has been loving the sewing machine and making her own bags.  Melts my heart.
 And I have my constant buddy while I weave.  He likes to be close...sometimes too close.  ;-)
And here he has pulled out a fabric ball.  I can just see the confusion....but it's a BALL!  Why can't I play with it???
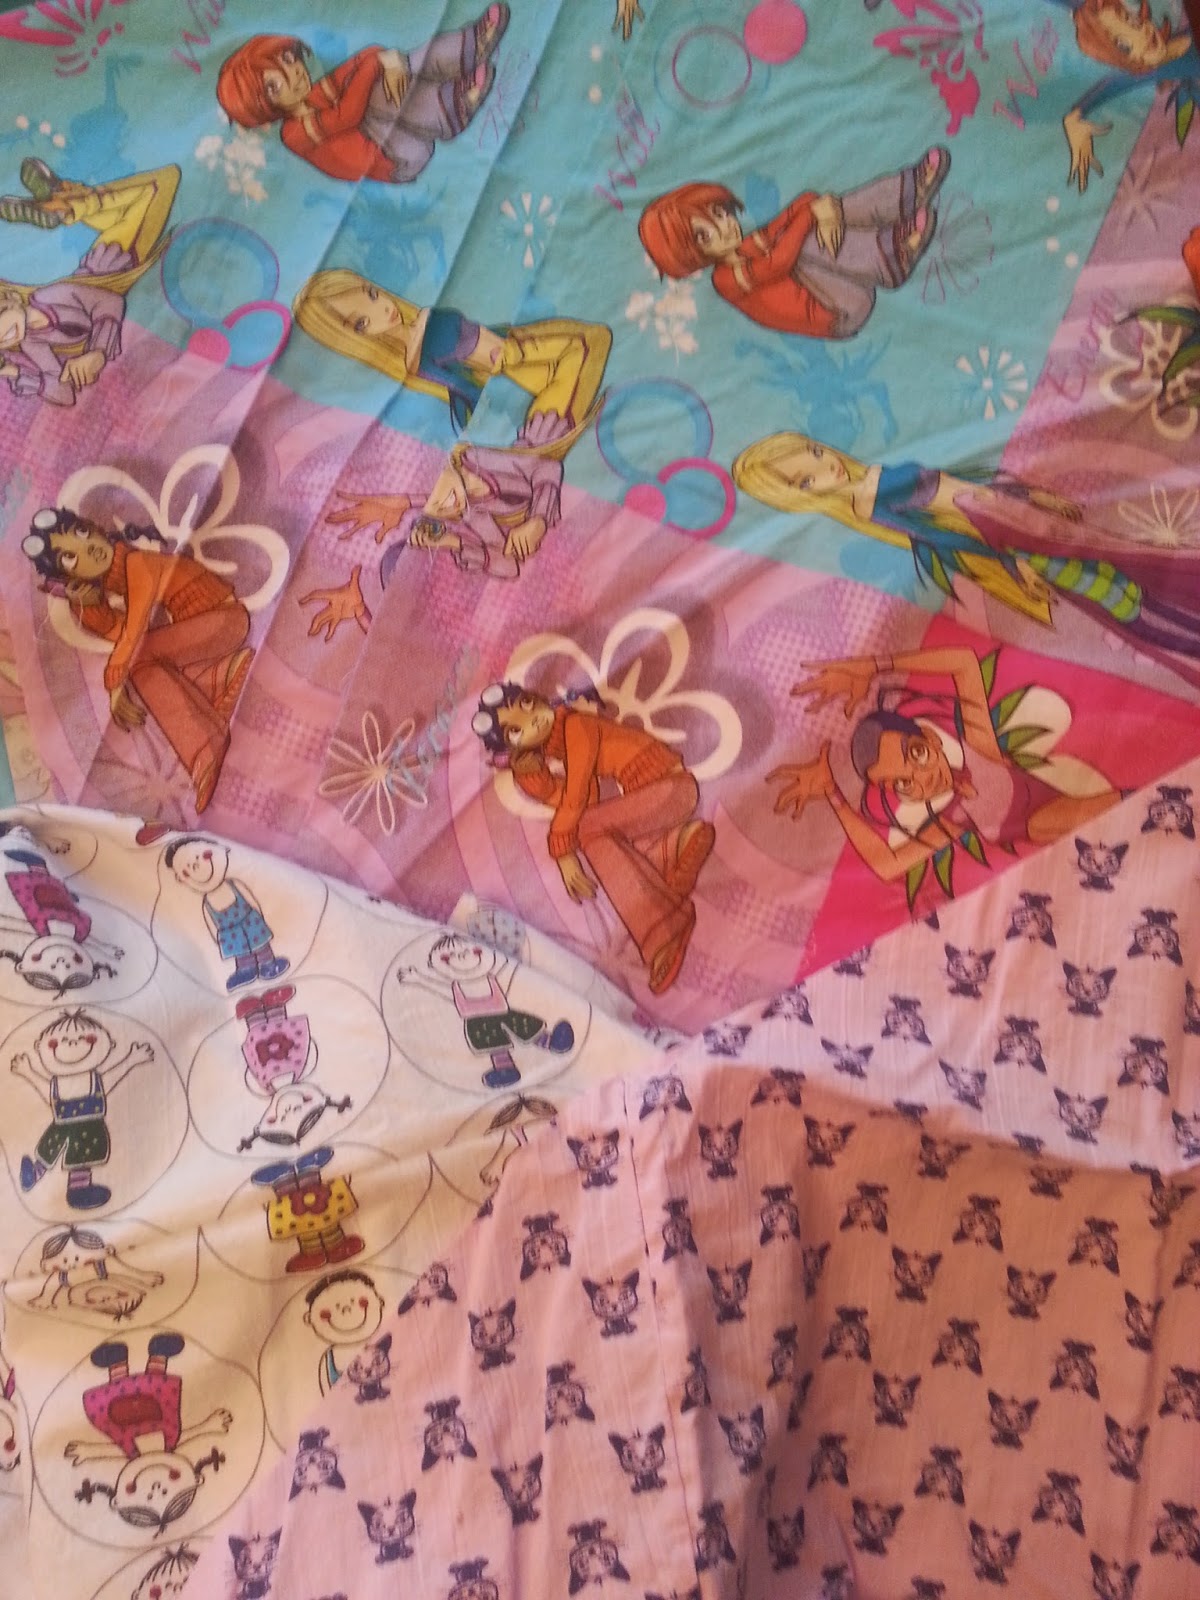
 Here is my first fabric donation.  Duvet covers from Denmark!  Fun, huh?  I'm using it for #3 and guessing a little girl who likes to sew may claim it for her room.
 That's a whole lotta pink!  ;-)
I have some donations coming in of sheets that I'm very excited about. But it takes a lot of fabric to make a rug, so a friendly reminder to all -- please save your old bed sheets for me.  Also, shirts with cool patterns are great too - the uglier often the better!  ;-)

Sunday, October 12, 2014

A few updates

We've been in our house for just over two years now and have been talking about painting the entryway and changing the entryway light fixture since the day we moved in.  The issue was the very ugly, bright brass light fixture with clear glass rectangles hanging from the ceiling.  Now, I really need to learn to take a before picture...but just trust me, this thing was ugly.  The problem was finding a new fixture to replace.  The ones I liked at the stores were very expensive, I had a hard time justifying the expense for something that no one really ever noticed.  Then, one morning I noticed this chandelier on my local garage sale site....it was listed for $65!  Are you kidding me?  It retails for $450 so...SOLD!  Now, we could have left it brushed nickel, but we have none in the house....that's okay, that's what a $10 can of Rustoleum Metallic Oil Rubbed Bronze spray paint it for!
Here it is, pretty, right?
 Oh,and we did have this in the powder room...but no other chrome in there either. So what the heck...let's paint that too!  I've seen all the DIY blogs and they make it look SO easy!
 I took the light fixtures to the garage and hung the big one between two ladders, covered all the little light thing-a-ma-bobs...
 and started spraying!  And seriously, it was too easy.  The only issue was the spray paint dries very quickly in the air when sprayed open like this and it falls to the ground making paint "dust" all over.  It's easy to sweep/vacuum up, but it was still rather messy.
 What a tough room to photograph, but there is the bathroom light fixture...WAY better!
 And here it is with the glass back on.  Walter seems to like it too.
 Another thing we wanted to change since moving in was to paint our entry as well.  Whoever painted this did an amazing job years ago, but the grey/white texture look just doesn't work for us.
 And why did it take so long?  Well, partly because we have this 16 foot entry...not exactly easy for reaching the light...but now that we found the chandelier...it's time!  We were going to rent scaffolding, but it wouldn't fit in the back of the van.  Hmmm, put in a call to the local equipment rental to see what they had and they suggested this little power lift.  It was perfect!  You use a power drill as the motor to move it up and down and as you go up, you simply install another section beam to go higher. Much easier than scaffolding! Here's my darling Hubs up there taking dow the ugly brass.
 And putting in the new...
 Once it was installed - with 20+ year light bulbs, 'cause we are NOT renting this thing just to change a bulb! - I got up there and started painting...and cleaned those windows!  And of course, the kids all had to go for a ride.
 I am ridiculously happy with how it all turned out. We installed a dimmer too - I'm shocked there was never a dimmer before,  The lighting is great...we went with LED bulbs in soft white.  They should last 22.6 years if burned at 3 hours a day.  Sweet.  The next time we need to change them we can ask our grown kids to come over and do it for us!  ;-)
 Waler seems to like it too.
I still have more painting to do, but at least the big part is done.  We rented the lift for 4 hours and it saved us a lot of time - and some dangerous balancing acts too!

Thursday, October 9, 2014

Fabric

I prepped the fabric today for the rag rugs.  I watched a YouTube video on cutting the fabric on the bias so you don't have strings coming off the strips and the rug wears better.  It was pretty slick and turns out the woman who made the video is in my Scandinavian Weavers group.  Cool!    So, I ended up with a couple of these...pretty, right?
 And getting started with the brown.  I see now I should have gone with a darker warp, but it looks just fine with the lighter warp.  Next time I think I will go from 8 ends per inch down to 6 ends per inch.  I'll use more weft to fill the space and I think the rug will be thicker and squishier.  It's rather thin right now...and I'm thankful I didn't go with the 10 ends per inch that I was originally thinking of doing!  Lots of learning, but lots of fun!
 So, I did a band of pink...
 Then mixed them up every other row....I like that look a lot!
Really, really, REALLY enjoy making rugs!  
For those of you near me, I will gladly take all your old sheet sets and stray fabric you no longer need....I see a lot of rugs being made in the near future....guess what everyone is getting for Christmas???  Haha!

Friday, October 3, 2014

Rug Warp

I'm still here!  I am still weaving!  It's just been very, very slow over the summer.  Now that the kids are in school again, I'm trying to get some more weaving time in.  It takes a LONG time to get everything figured out.  This time I tried out Farmor's Warping mill, now that I found the right size dowel from the hardware store, that the mill had been missing.  It's a pretty short warp, but since I'm still learning, I think it's okay to do more, shorter projects...I'm a hands on learner.  Anyway, WOW!  Was this thing a dream to warp on!  My other warping board would make my arm and body so tired, zig-zagging back and forth, this was a piece of cake!
 Warp chained and ready for loom.
 This is sleying the reed...basically, getting the warp evenly spaced across the width of the reed, to get it the correct width to wind on the loom.
 Every weaver needs a trusty helper, right?  There's mine....sound asleep and snoring.  I guess this is still the boring part of weaving.
 Getting the warp attached to the back beam and waiting for my other weaver helper, the Hubs, to get home and help me wind on.
 I love this -- isn't that pretty?!
 And I finally ordered new Texsolv heddles.  The other ones were fine, but since they were rope, some seemed to be different lengths and it just came across a little uneven.  So, I now have 100 heddles on each of the four shafts.  I'm about half way there threading the heddles...a little over 130 left to go.  I love this part - sitting inside the loom, listening to the rain, some music and my faithful hound snoring away.  
Next is to finish this, get the warp through the reed and I'll be weaving!  Well, after I figure out how to prepare the rag strips that is...THEN I'll be weaving!  Almost there!

Sunday, January 5, 2014

First Project

It's been an adventure figuring out Farmor's loom.  It's a different set up that has taken some research and learning along the way, so it took quite a bit more time than I was expecting to get the loom warped.  But, now that I've done it, it makes sense and will go faster the more I do it.  I have a bunch of Tencel from my very first set of scarves I made on my other loom last summer, so I warped up enough for 2 scarves approximately 72" in length.  This time I used the variegated for the warp. A nice zig zag of 6+ yards.
 Off the warping board.  Isn't that pretty?
 Threading the heddles.
 I'm doing the first scarf with a solid color weft.  It is a Bronson lace, and typically lace is best shown on solid color yarn, but I wanted a bit more texture than just a plain weave and I'm happy with how that's turning out.
 And here is scarf #2.  I know, they look the same, but they aren't!  I'm using the same variegated yarn for both warp and weft, and I also changed the treadling order to create a different texture.
 Isn't that fun?  That's the cloth beam...where the finished cloth goes.  ;-)
 Here you can see the lace design as it's going down to the cloth beam.
 And another.
I'm still figuring out the little quirks of the loom but it is a joy to weave on.  I understand why so many prefer these swedish style looms as they are quiet, smooth, easy on the arms and body. I'm in love with my new loom. Hopefully I'll have finished scarves to share with you soon.

Saturday, December 7, 2013

The Loom is Home

I can't even begin to explain the mix of emotions today as my Farmor's loom finally made it to its new home.  Getting the loom here was a much bigger task than I had imagined.  It all started back in July with a conversation with my Dad - what ever happened to Farmor's looms?  In August, the conversation began with my Uncle Sten about Farmor's loom - he and my Aunt were so kind to pass the loom on to me.  Then in September, the conversations began with freight forwarders, customs officials, customs brokers, banks, shipping companies, etc.  My Dad and I logged countless hours on the phone and computer figuring out how to get this shipped across the ocean...safely and without penalties...we learned the shipping business has changed a lot in the last few years and I could not have done this without his help! The loom eventually was collected from my uncle's house, packed and put in a crate.  On Wed, Nov 6th, the loom finally set sail from Gothenburg, Sweden.  It spent nearly two weeks at sea, stopping in Liverpool, then Nova Scotia and finally unloading in New York. Technology made it exciting to track across the ocean. From there it was put on rail and arrived to Minneapolis on Dec 2nd.  There were a number of bumps and setbacks on this great journey, but it was, without a doubt, totally worth it!  On December 6th, a full month after it set sail from Sweden, I picked it up from the warehouse in Minneapolis. I couldn't help get a little teary-eyed when I first saw the crate come out on the lift.  All this time waiting....and there it was! What a moment!
 This made me a little nervous....the crate was only made to be held by the forklift on the wide side, but the truck opening wasn't wide enough.  They had to balance it on the pallets like this and then slide it in the truck.  I suppose they do this all day long so it was no big thing.  They probably thought I was a little nutty to be taking pictures of it all....especially when it was only 5 degrees outside!
 Home!
 Can you tell how cold it is?  Of course it would come home on the coldest day of the year!  


 They did a great job packing it.  Everything was in perfect condition.
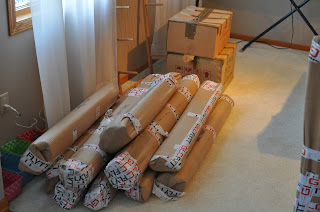
 I thought this one was funny....I can just see someone standing there thinking, "now, how am I gonna wrap this one up?"
 Oh look!  The loom came with a little boy!  Haha!
He loved playing in all the wrappings.
 Setting out parts and pieces.
"This is a BIG guy!"
Sorting through treasures.
We had to do some rearranging to make room for both looms...but here it is!
  This room is filled with my family - Farmor's loom, Grandpa's easel and paintings, Auntie paintings, Great Grandma's yarn basket and picture knitting, weaving supplies from Aunt Lena....I am surrounded by love and creativity each time I step in this room.  Makes my heart happy.  :-)

I chose to have the looms facing the windows so I can look outside.  In the summer I have the front door open and can see out front...I love that.


I am just so happy to have my Farmor's loom...and I like to think she'd be happy that it's here too.
Welcome Home!