Wednesday, October 10, 2012

Beading with Toddlers

Dot loves to make necklaces but the little elastic strings are too hard for Nikkels to hold on to.  So, I had him string beads on pipe cleaners instead.
 Now, don't let these pictures fool you....we were having a good time....
 It took just a wee bit of concentration...
 And he took this task very seriously...

 I love how he can hold the string like this and they stay!
 Yup...very serious.  I PROMISE...we were having fun!!!
You'll just have to believe me...

Friday, October 5, 2012

Wash your hands

What?  You clearly said, "Big kids, go wash your hands."  What's the problem???
 I figured since you don't like it when I put my feet up on the table when I'm eating, I should wash those too...then it's not a big deal, right?
I mean, I got up here all by myself, used PLENTY of soap so I am germ free, even washed down the mirror a bit for you....
 See???  Look what a great job I did!  


Monday, September 24, 2012

Glow Tub


Somewhere along the way I saw the idea to put glow sticks in the bathtub and we finally tried it out the other night.  Turned off the lights and tossed the sticks in the water....the kids LOVED it!  The tub just glowed...it was pretty cool and we will do this again!

 Tossing them in the air is pretty cool too.

 Glow sticks = Joy!

Sunday, September 23, 2012

Treasure Hunt with Treasure Rocks


We had Aaron's cousin's kids stay with us for a sleep over on Saturday night and we had loads of fun!  The key to keeping some form of order was to have free play, outside time, organized activity and repeat.  It really worked well keeping 5 little people happily entertained.
So, for one of the organized activities I planned a Treasure Hunt.  I made it up the night before so it's nothing amazing, but it was sure a hit with the kids!
The night before they came over, I made some fake rocks to hold the clues for the treasure.  There are a few different "recipes" for it online, but I used the one at the bottom of this post.  I don't know what is wrong with me as I totally forgot to take a pix of the "rocks', but here is Dot finding the first rock "clue".  I set it along the driveway and just waited for someone to notice it while we were out playing.  I wrapped some twine around the rock with the attached note.  Here Dot is looking at the rock and the boys are now interested....
This is what the note said:
                                     
S was the first one to figure out we needed to break open the rock to find the first clue.  Oh my goodness!  They thought that was SO cool and they were good about sharing turns to smash open the rock to reveal the next clue.  The clues were printed out on paper and I stained them brown to make them look aged with wet coffee grounds....since I had them out for the rock dough anyway.
Here they are getting the first clue out of the rock.
E reading the clue out loud to the group.
I found these little canisters at the Dollar Store and that's what the clues were in inside the rock.  I'm sure I could have just put the paper in the rock like a fortune cookie...but this seemed sort of "message in a bottle" kind of feel...and since I hadn't done this before I wasn't positive how the paper would hold up inside the rock.
Here they are trying to find the clue:
Climb up a rock wall mountain, but look out for alligators at the bottom.
The rock was hidden down in a corner of the swing set and this was probably the toughest find.
They also had some trouble with:
Sitting up on a wall, but unlike Humpty Dumpty, I did not fall.
That one was sitting on the retaining wall in the front yard.
 Finally they get the last clue and Dot finds the Red Ribbon Tree in the woods and that's where the treasure was buried.
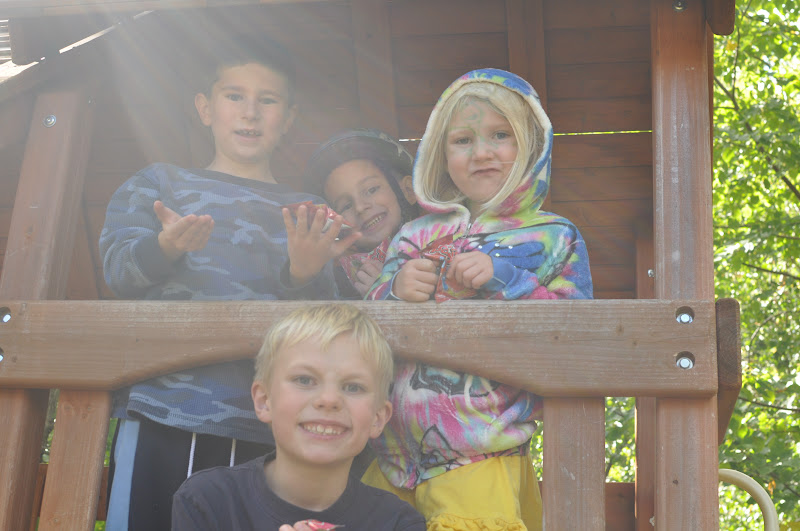
 They took the canister up to the clubhouse where they opened it to find Ring Pops, super balls and "real" gold.
 Ahhh, the magic of metallic gold spray paint and some landscaping rock.
 The kids had a blast doing this and it was so fun to watch them run from front to back yard over and over as each would shout "I know where it is!" and they all take off running.  It was hilarious and kept them busy for quite some time.

Treasure Rock Recipe:

1 cup used coffee grounds (damp or dry is fine)
1/4 cup sand
1/2 cup salt
1 cup flour
3/4 cup water
Just mix it all together so it sets up like thick dough.  Shape it into rock shape balls and insert toy and wrap "dough" around it.  You can leave them out to let them air dry for at least a couple days.  Or, if you are a last minute kind of planner like me, you can bake them in your over at 150 for 30-40 minutes or so.

I added a touch of gold spray paint to our rocks to get them to stand out just a bit more.  I mean really, metallic gold is just so fun and since I already had it out for the "treasure gold"....why not?  A fun activity that the kids have already asked if we could do again.


Tuesday, September 18, 2012

Bath Tub

I did it.  I created my own bathroom toy storage that I originally found here on Pinterest.  When I first saw this, my first thought was: DUH!  IT's BRILLIANT!  And you know what....it truly is.  For 7 years I have dealt with plastic bins, suction cup holders, buckets, etc and it's always a mess. 
Isn't this beautiful?!
 
The one I originally saw had wire baskets and hooks over the shower curtain bar and it looked really nice, but I was trying to use what I had on hand.  Instead of spending money on the baskets, I just used some of the plastic containers that deli meat comes in....we have a ton of them.  I got out the power drill and drilled in two holes at the back, and three at the bottom toward the slant so the water will drain out.  I almost bought some hooks until I remembered we had some zip ties that would do the job just as well.   
 Here they are in action with the little guy.  Another great thing is there is by far less water on the floor outside of the tub as they kids aren't leaning over the side to grab new toys from the bin.  I'm beyond thrilled with this latest little project!

Fall Wreath

Ok...so this new black door seemed to be screaming at me for a fall wreath.  Hmmm....a wreath.  That sounds like fuddy-duddy kind of stuff.  I've never put anything on our door except for the Christmas wreaths that I buy from the Boy Scouts each year...and those I don't really even like.  Anyway, I suddenly have this crazy urge to decorate our door with season appropriate bling.  So, here is one idea...I made it using a bunch of strips of upholstery fabric all tied together.  

Still not sure how I feel about wreaths on doors....I think I'm afraid it will turn into all the ugly flower decor from the 80's and 90's.  But Ava and I brainstormed some ideas for a Halloween wreath....uh-oh...see, this is how it all gets started.

Saturday, September 15, 2012

Baby Blanket

I made this baby blanket for a very special little person-to-be and got to give 
it to her mom today.  
The pattern is the Elven Pixie Blanket and it was a great knit....not terribly difficult, yet interesting enough that it didn't get boring.  It had two options for the border and I chose to do the more delicate picot edge which means a bit of crocheting too....something I haven't had much experience with, but it was fun and turned out just fine.

 I used Amy Butler's Belle Organic dk in the color Chocolate - 50% Cotton and 50% Wool.  
Soft, squishy and cozy...just the way a baby blanket should be.